Gallery


Concept Art
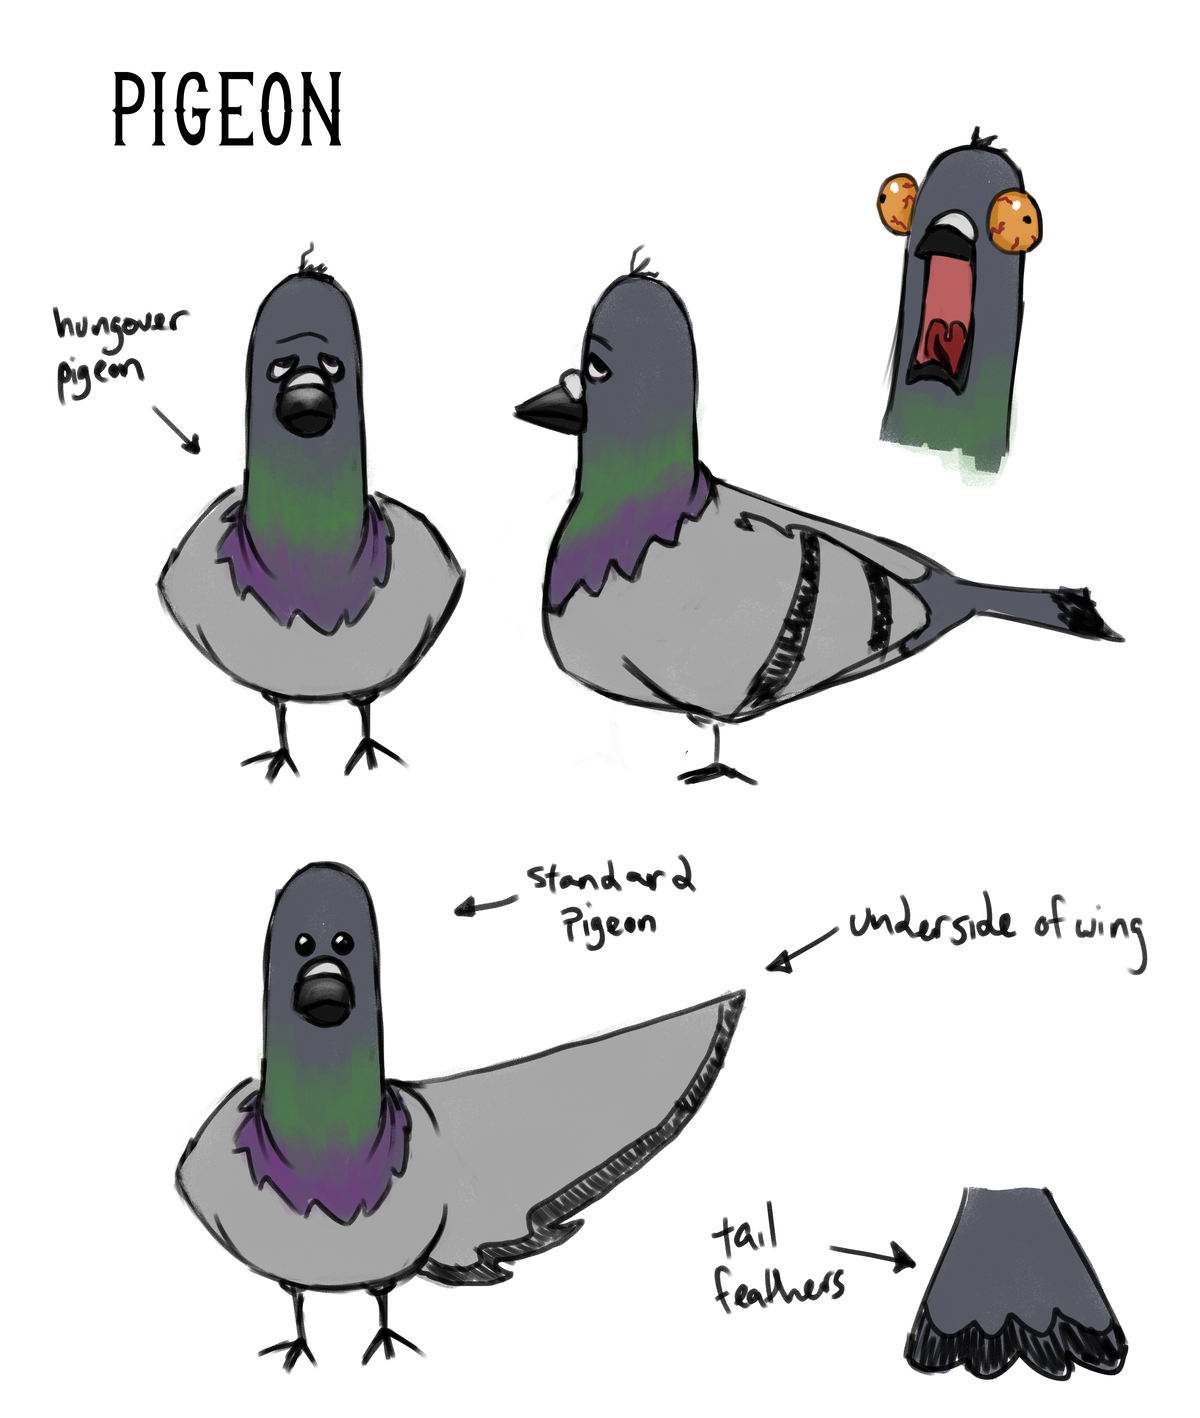
All concept art by Austin Hillebrecht
Process
I was asked to make two pigeon puppets, one that would be to-scale to the human characters and one that would be larger for close-ups which only feature the pigeon. We decided that the simplest way to create the face was to have the fabrication team design and 3D print different expressions to replace between shots, in a similar way to how they do the human characters.
I started with looking up some bird patterns to use as a reference. I planned on making the body out of felt sheets and stuffing it, a process I’m familiar with, before needle felting over the op of it for a smoother finish, a process I’m not familiar with and honestly couldn’t find any proof of anyone doing before. So that’s encouraging.
After looking up some patterns I drafted my own, making small adjustments for the specific share of the concept art provided. I created a prototype of the larger pigeon to get a feel for the shape. And ended up making small adjustments in the size and head shape, and decided not to stuff the wings or tail. With my pattern adjusted, I copied it and sized it down for the smaller version. I didn’t make a prototype of the smaller one.

The next step was covering both of them in wool roving, using a felting needle to hook the fibers around each other and hopefully attaching the new felt to the “pre-felted” felt. It only had to last through filming. After the base coverage I went back over with the other colors to add in the details.
The smaller pigeon with its first pass of color

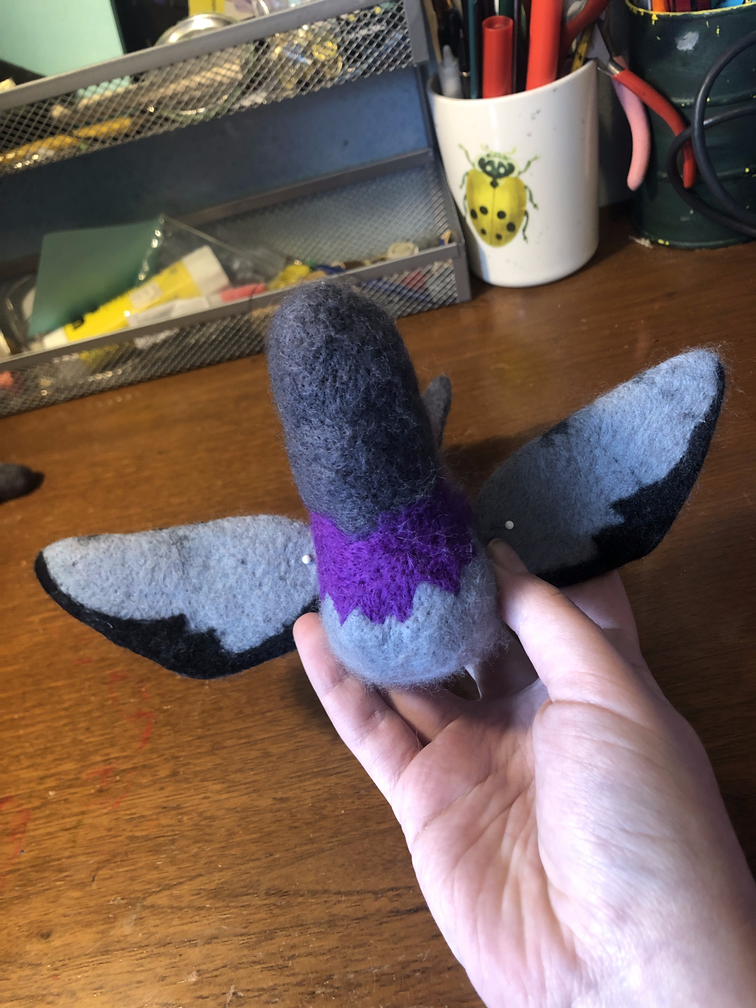
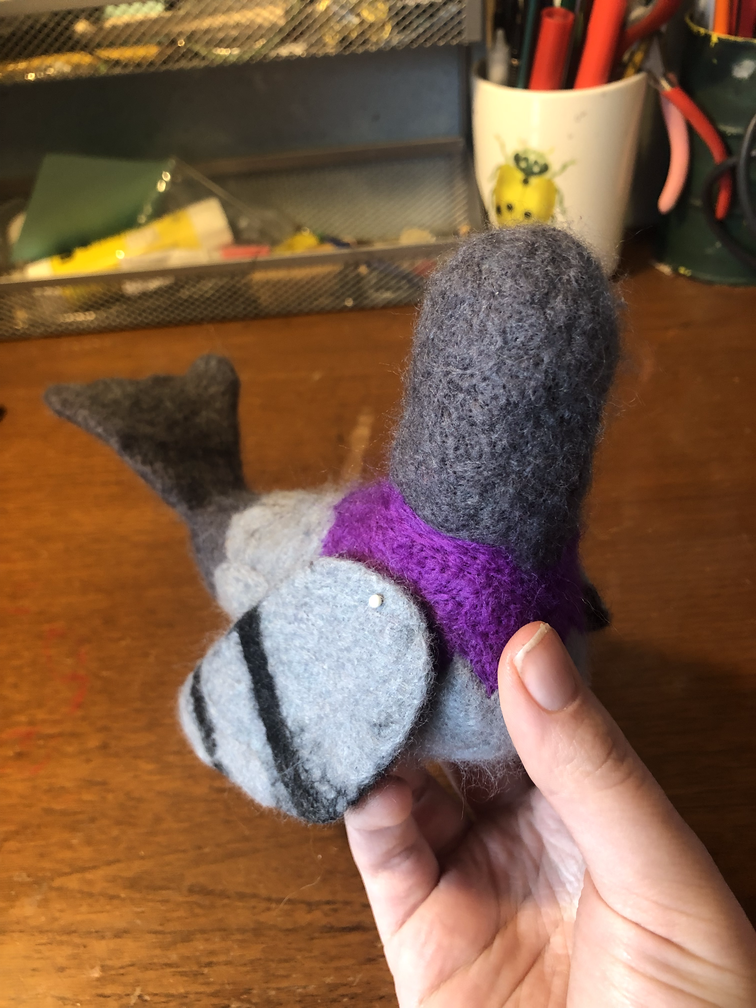
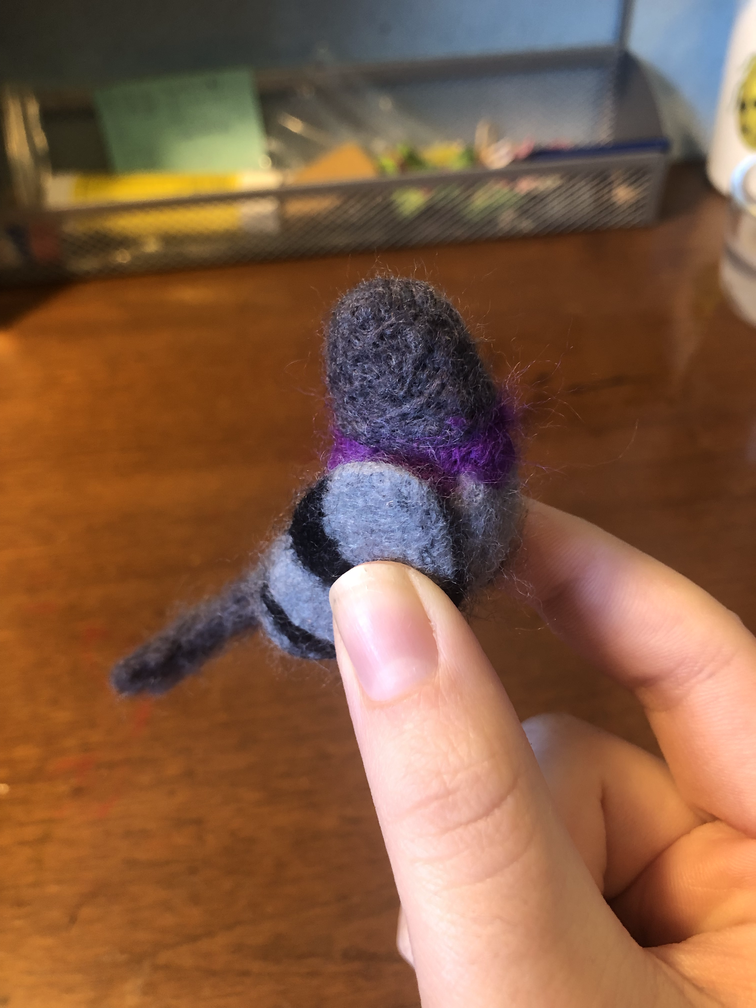
The larger pigeon with its neck feathers started
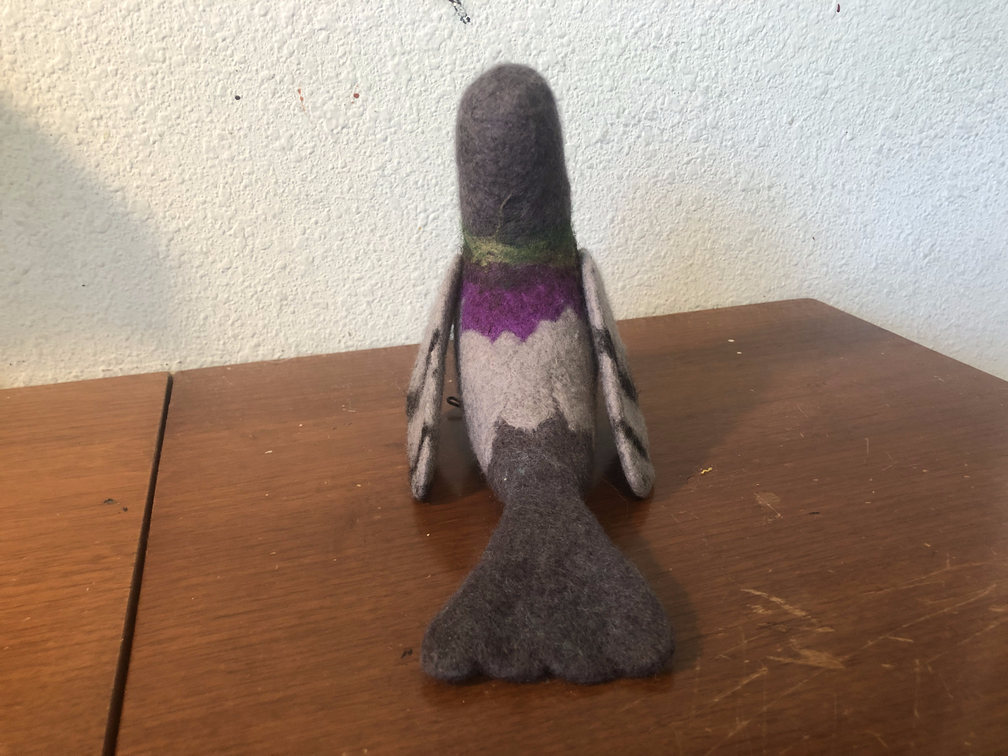
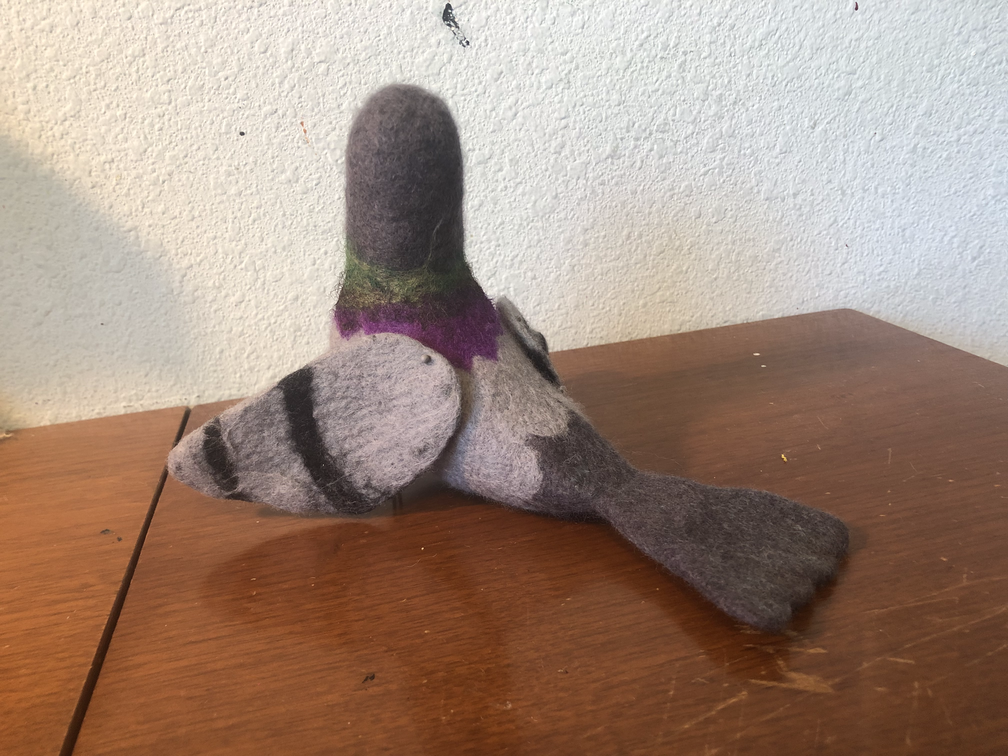
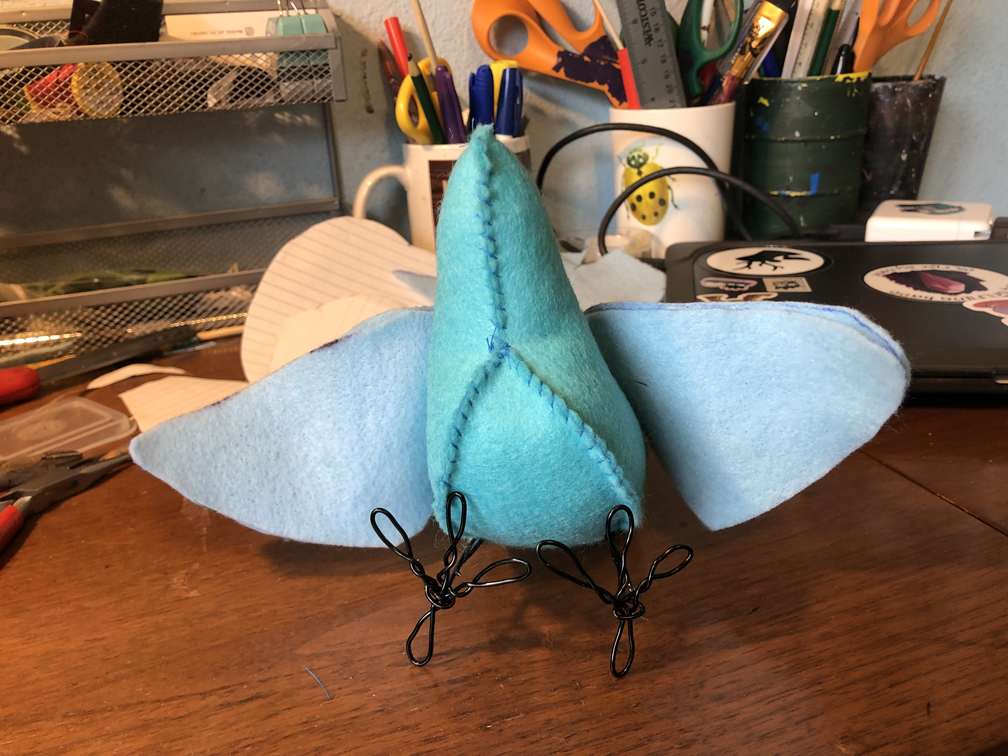
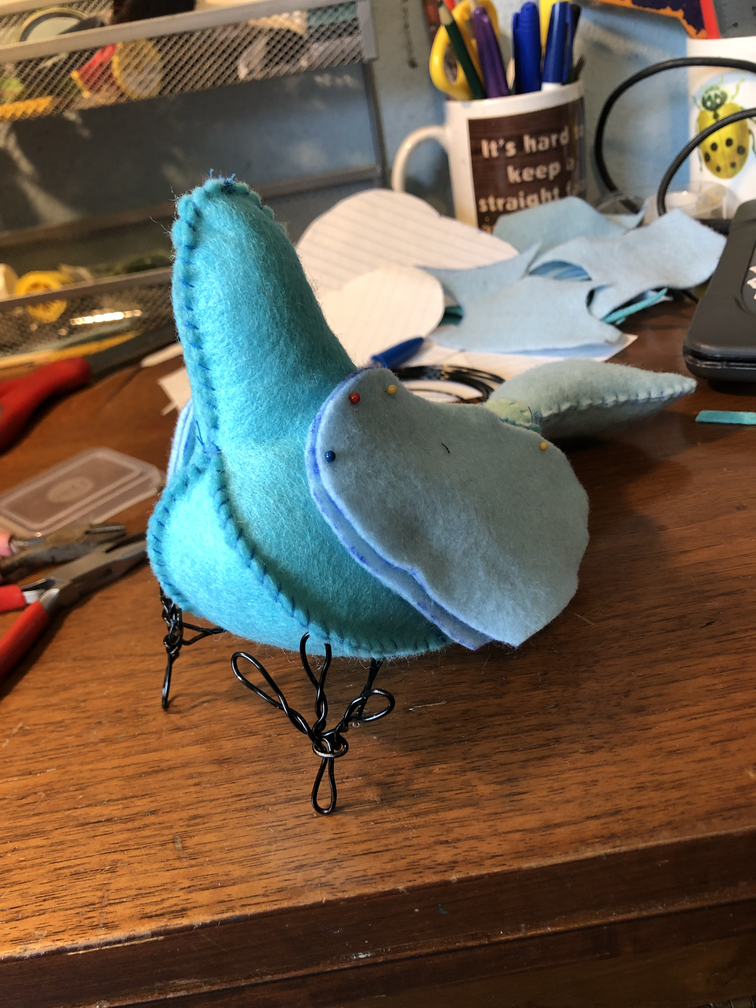
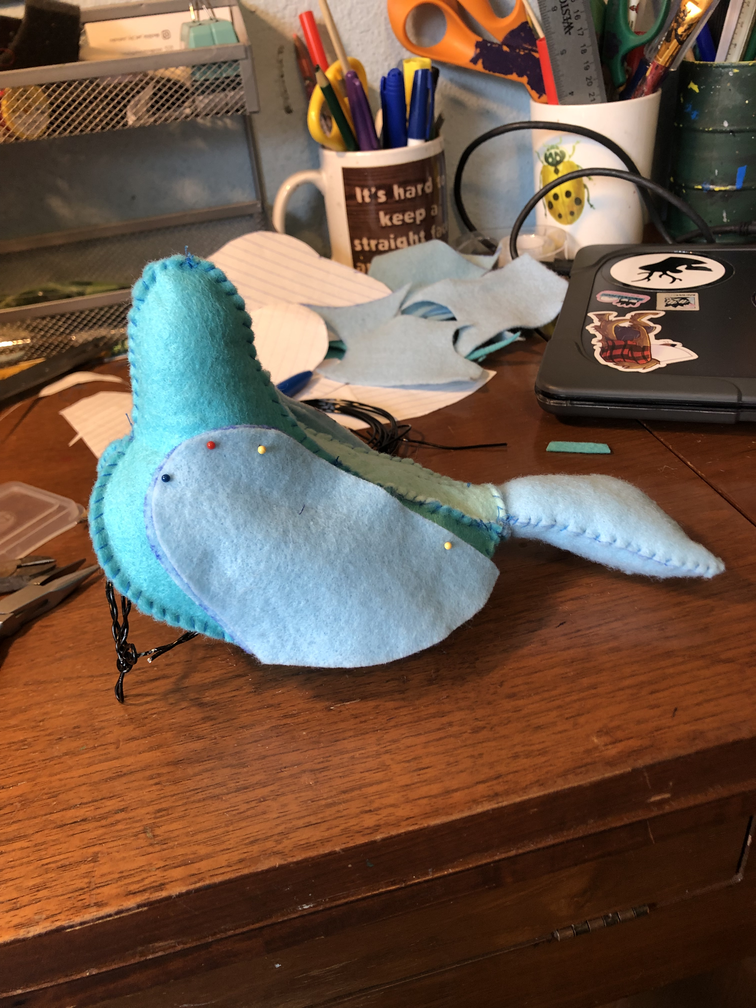
The wings I kept separate and are just attached with pins. This allows them to be removed for far more flexibility in posing. I have learned from previous projects that bird wings are notoriously difficult to get to expand and contract convincingly. By swapping the positions of the wings and flipping them around so the correct side is facing inward, the shape can convincingly resemble an outstretched wing or a tucked-down one. But this did mean that the wings had to be felted onto from both sides, which caused an unexpected issue. The way the needle pulls the roving through the felt as it stabs it meant that whatever color was on the top side would end up getting pulled through to the opposite side. This left little tufts of black all over the grey where the opposite side had black details. I trimmed them, tried to use lighter stabs that didn’t go as far through, and eventually - on the larger one - added more grey to to the opposite side to even it out a little. To not cause the opposite problem, this had to be attached super lightly as well, and I was counting on the next step to seal things together.

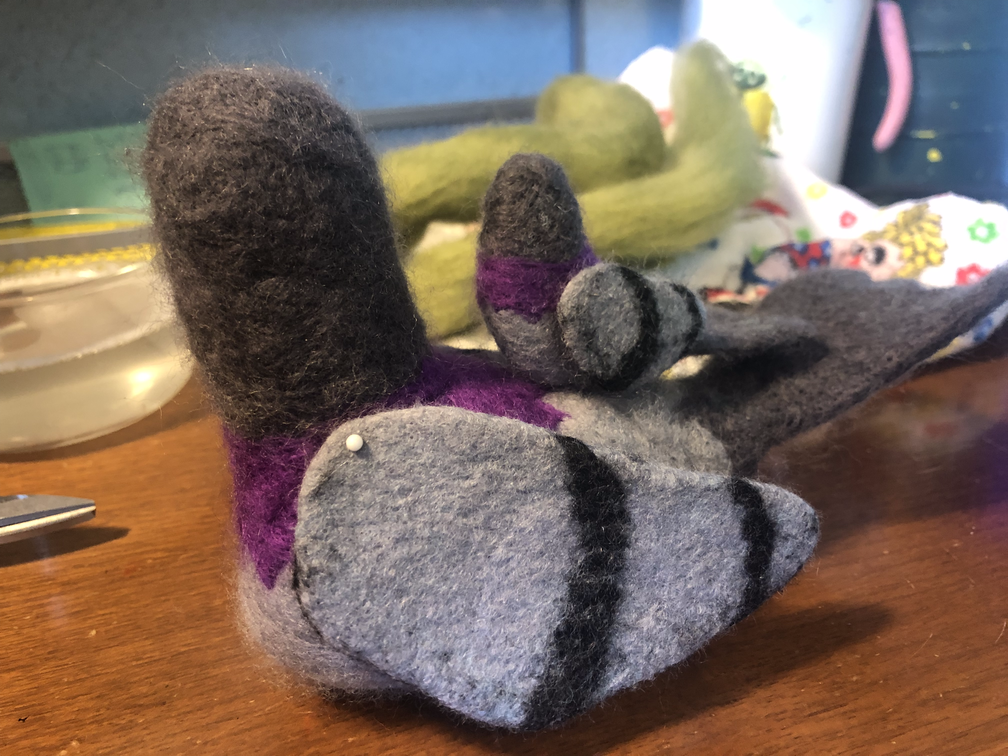

Finished wing
Testing out the movable wings
I didn't originally like the color of this green, but didn't have time to order more. So I used it anyway, and planned on painting a darker color over it later.

Testing the green that I had
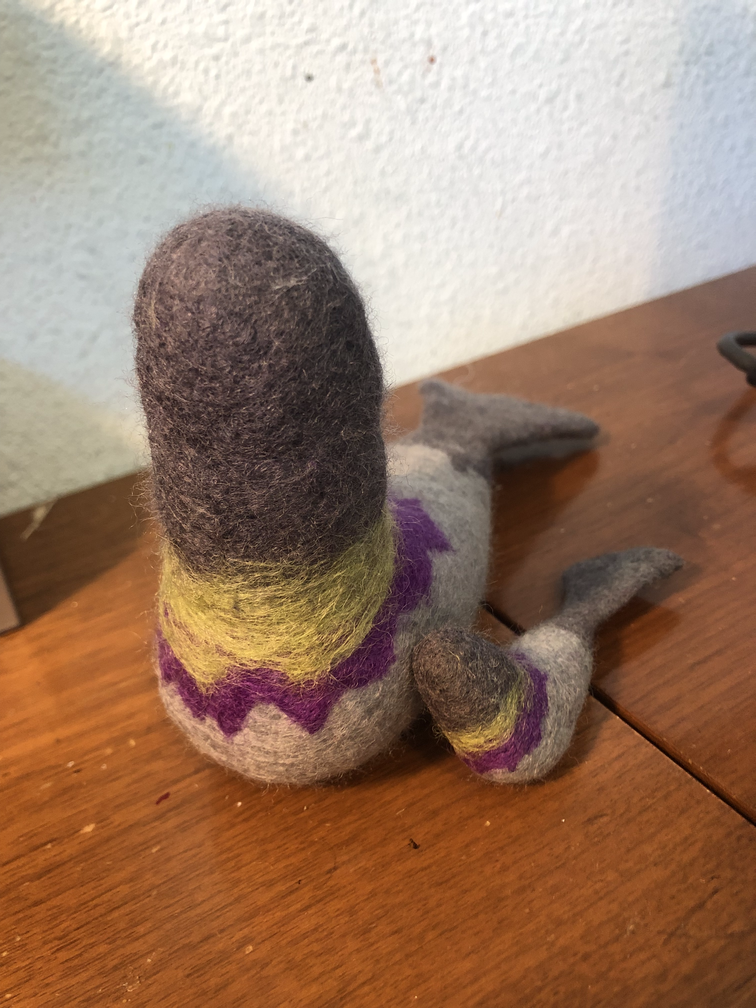
Both pigeons after a first pass of green

After all the detail was done it was time for wet felting. I had been disappointed in the texture of my felting, it had little holes all over it from the needle and research showed the answer was either to have bought higher-quality felt or have actually known what I’m doing, or somewhere in between. I decided the best way to smooth it out, and tangle more of the wool fibers into each other for a stronger result, was to use a different process to finish - wet felting. This involved soaking the project in a mixture of water and dish soap, and repeatedly rubbing it between my hands. I spent about a half hour on each small piece and a little more on the big ones.
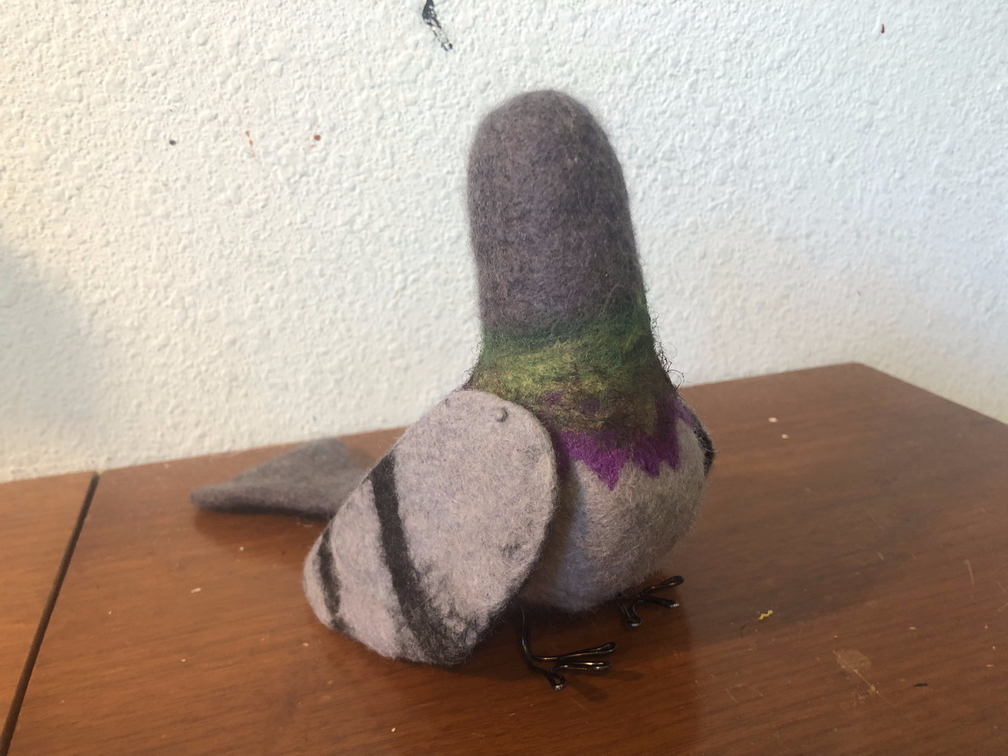
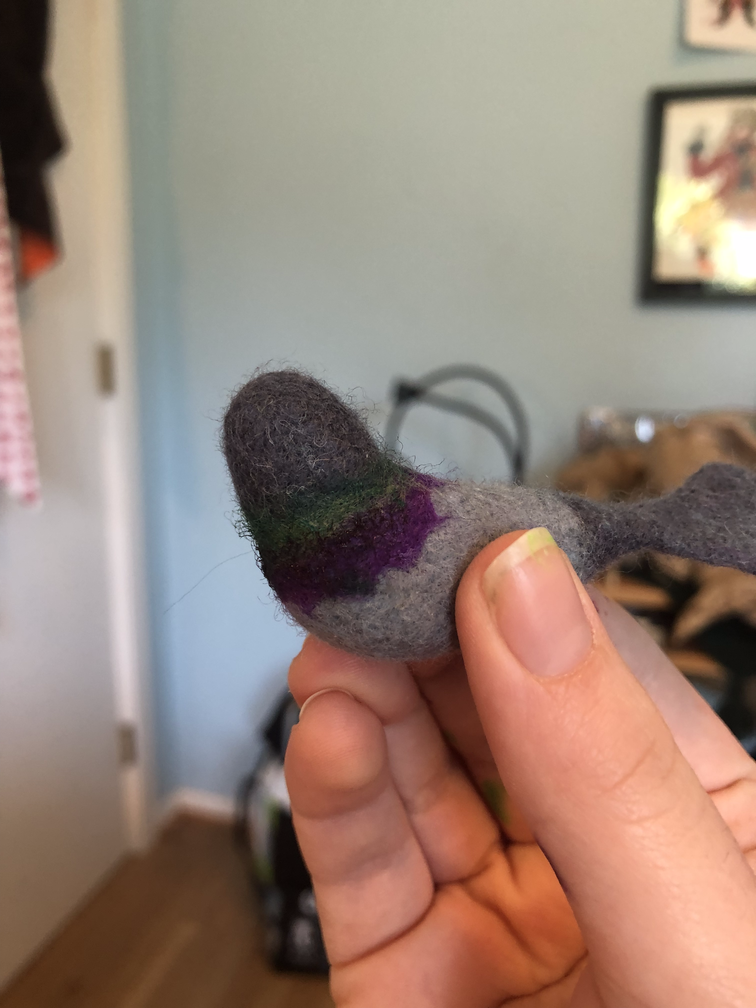
Then they both got some painted touch-ups to their neck feathers!
After wet-felting, the wing is much thinner
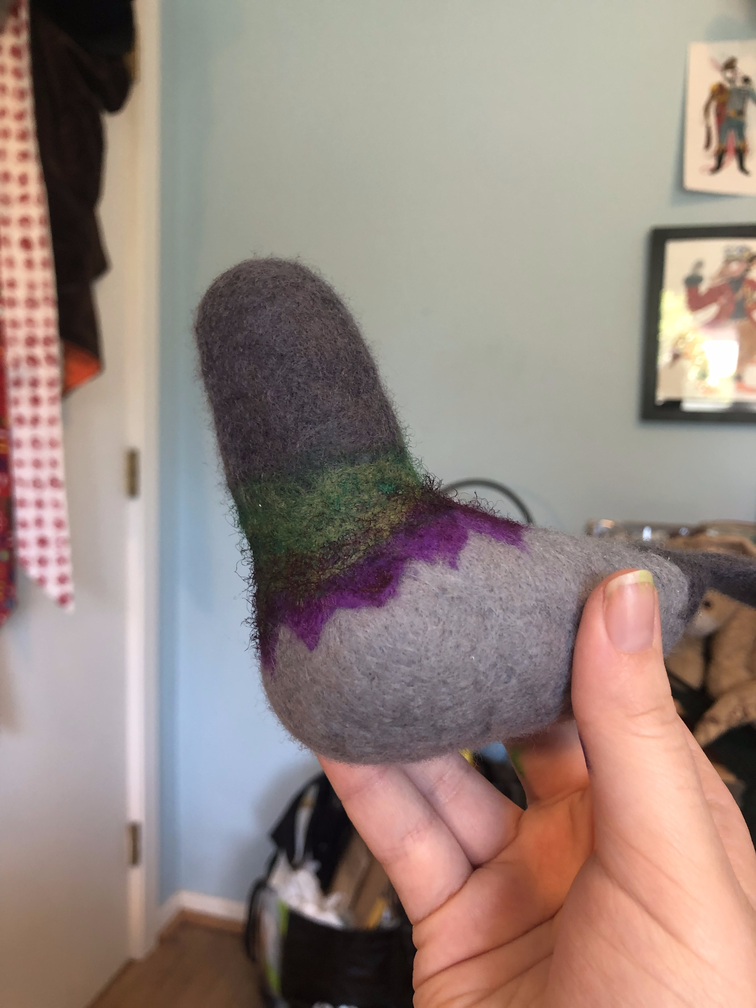
With dark green painted over
Smaller pigeon also with the darker green
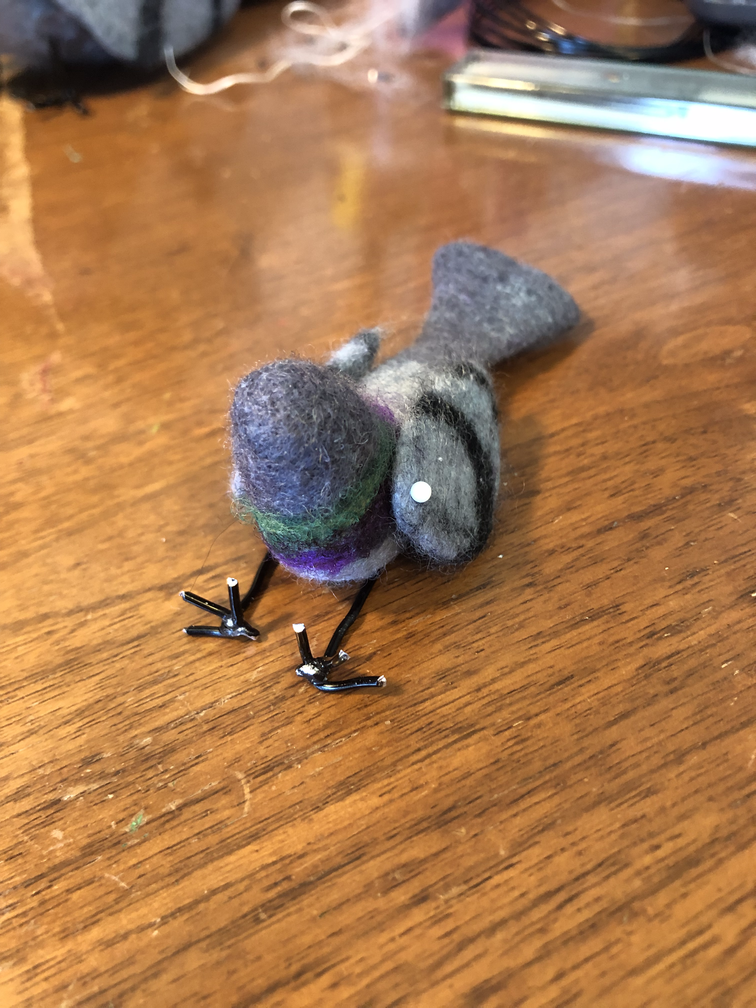
Once those were dry, it was finally tine for the feet. I had made some prototype wire feet on my prototype bird, but it was time to make the real ones. I started with a few inches excess of wire and bent in the shape of each toe. The other end of the wire goes back up the leg, and I bent the ends into a circle that could be sewn directly into the felt body. After sewing both the legs on the wire was more obvious that I had hoped, so I finished it off with a layer of wool roving felted over it.
I would not recommend doing this! The needles are very fragile and the force needed for the punching method is enough to snap them easily if you hit the wire at the wrong angle. Unsurprisingly, I snapped two needles doing this. But it worked out in the end, and the slightly messy felting covering the legs is less obvious than the bare wires.
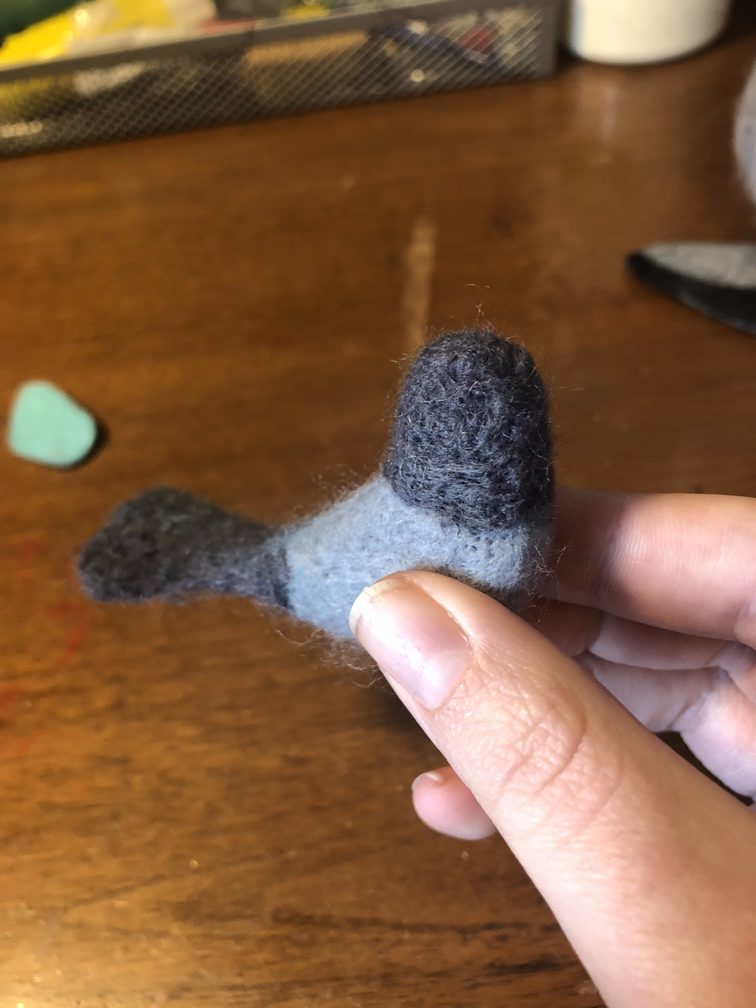
For the little one, I cut individual wires for the toes and bent the single leg-wire around them. After some crimping they were still a little loose, but a dab of superglue later and they were solid enough for filming. I used the same technique of bending the top of the leg into a circle, and more superglue to keep them in place. This one was small enough I didn’t feel the need to cover the bare wires with more wool.

Where the legs meet is still messy, but better than before
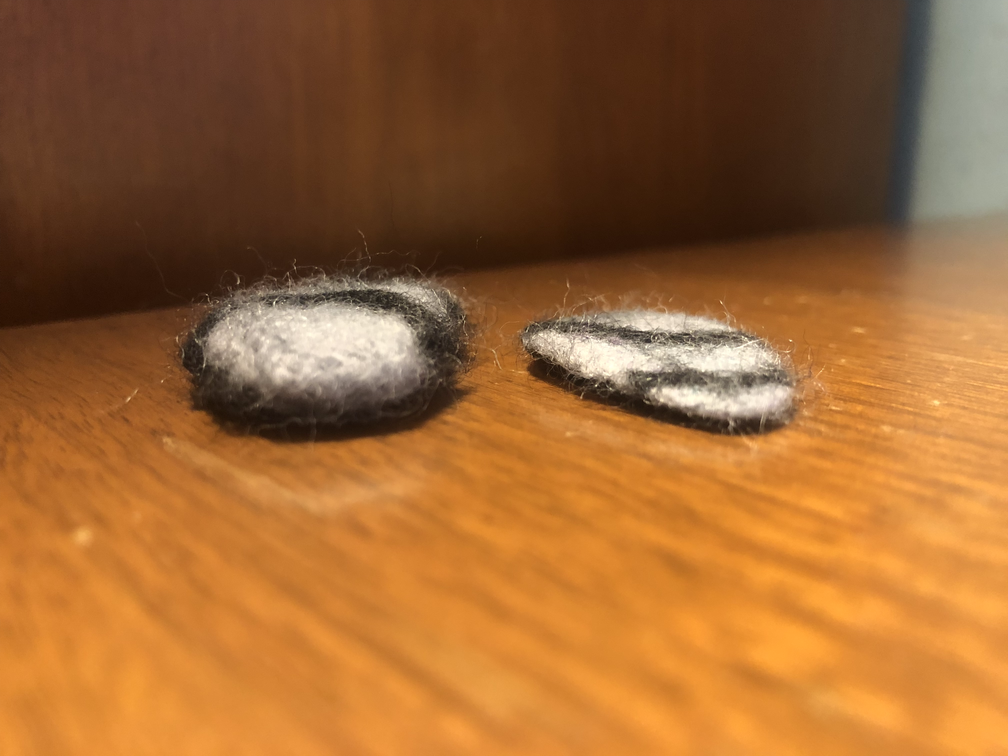
(The feet aren't yet attached here)
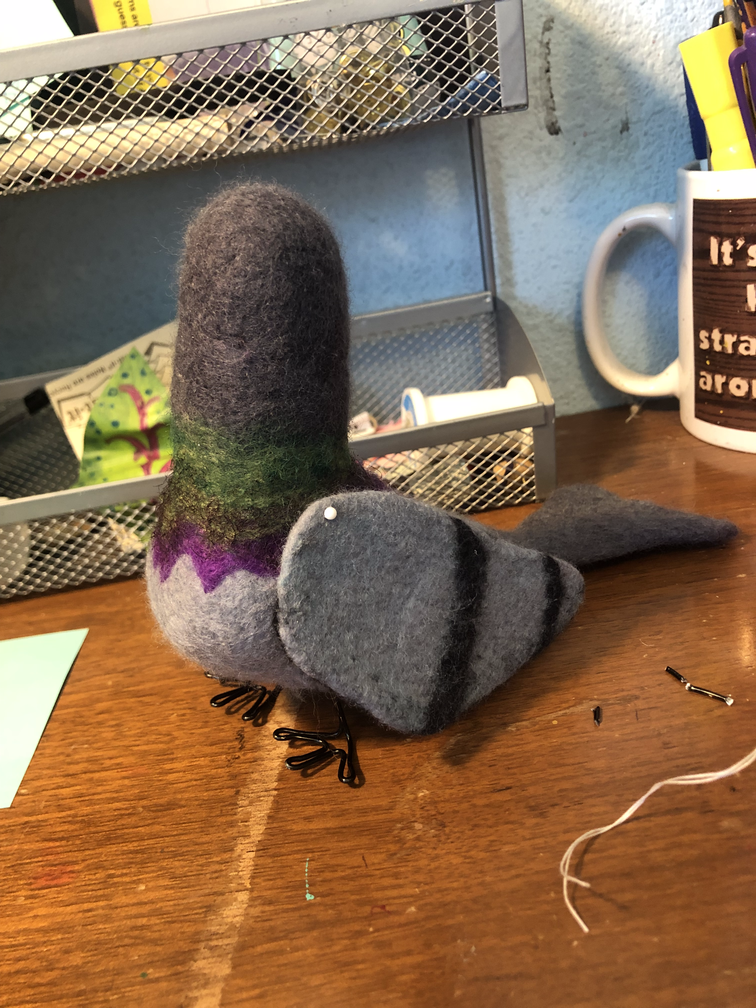
The finished bird!
External links
 Website template: ©repth
Background image: Texture Town
Box texture: Transparent Textures
Website template: ©repth
Background image: Texture Town
Box texture: Transparent Textures
Brooklyn Williams 2023